Flight Planning and Prefile with POSCON
This is a quick tutorial on planning and prefiling a flight with SimToolkitPro, SimBrief and the POSCON Network. For the purposes of this tutorial we will plan a flight from Dublin (EIDW) to Brussels (EBBR) in a KLM Boeing 737-800 with registration [PH-BXZ] on flight KLM935.
Paperwork
Firstly let get the plan going. In SimToolkitPro head to the flight planning page and select the "Create a New Plan" button.

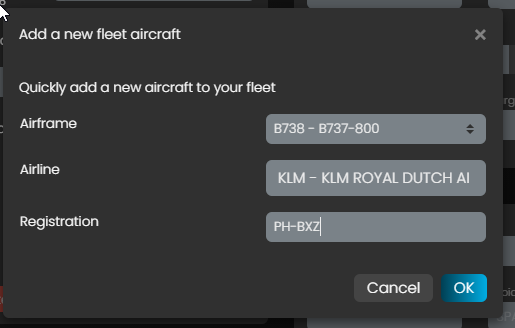
Firstly (assuming we don't have the aircraft in our fleet already), lets add PH-BXZ to our fleet. Click the "Add Aircraft" button and fill out the form.
An important note here is that the POSCON system expects a VALID aircraft registration amongst other details when prefiling, so whilst you don't need the exact matching aircraft registration, it does need to be a valid one.
Once we have added the aircraft we can search for it in the "Search Fleet" box. Entering its registration should be enough to find it.

Now lets fill out the flight details. Selecting the aircraft will prefile the ATC Callsign and Flight number boxes with the appropriate KL/KLM codes so we just need to append our flight number 935. Adding our departure of Dublin EIDW and arrival of Brussels EBBR, we are pretty much done here.

So now hit Generate Plan. You will get a pop up to log into your SimBrief account and then the flight will be generated.

Once completed, we will see our flight plan in front of us.

From here we can select our arrival procedures, check over the flight details and make sure everything is as we expect. Once you are happy from the Orange Prefile menu, select the POSCON Prefile option. This will open the POSCON prefiling site in your default web browser.

It's possible at this point you will be logged in and redirected to the POSCON HQ dashboard. Simply close the tab and reclick the prefile button to be correctly redirected to the flight planning form.
Once there you will see all the details for your flight provided by the SimBrief system ready to file your flight plan.
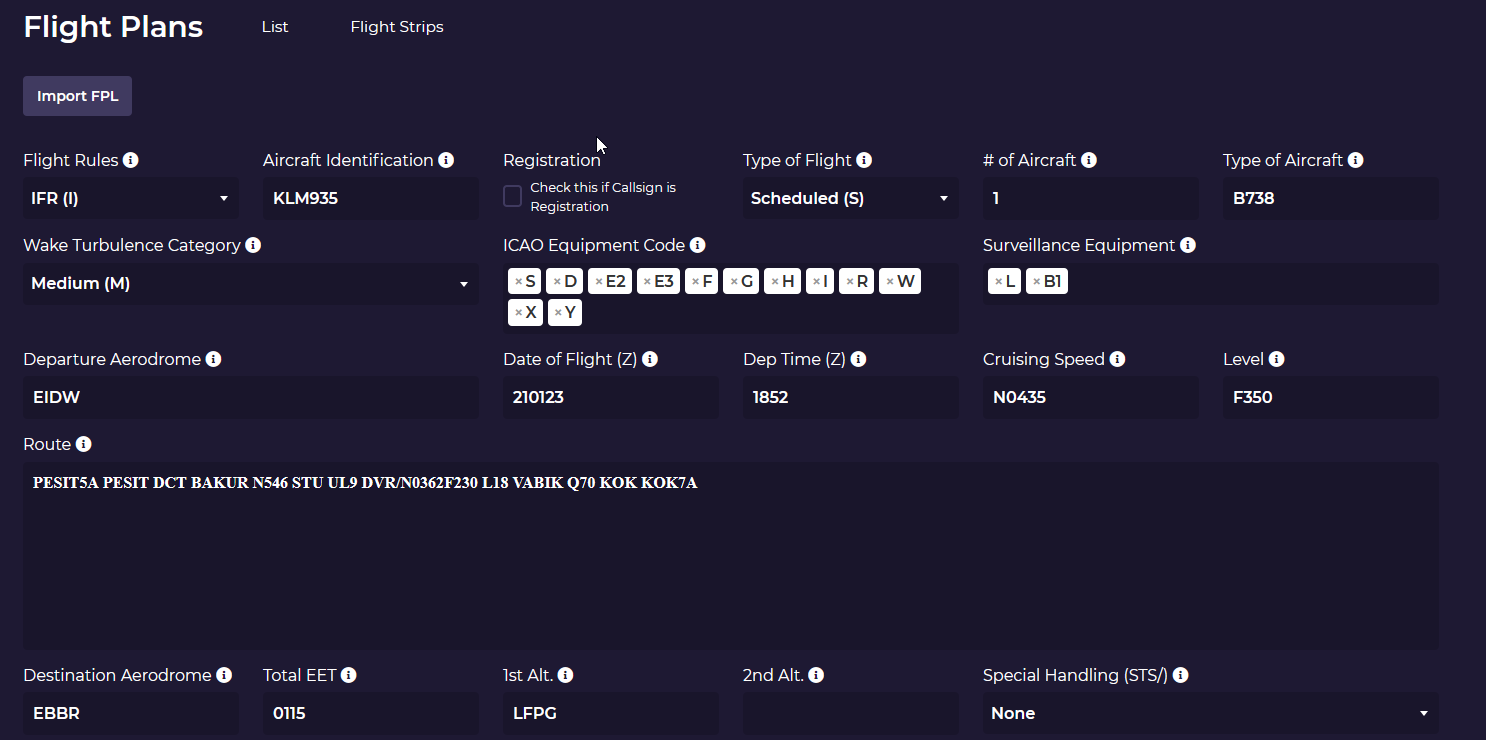
Check through the plan to make sure all is well and when satisfied, hit the submit button at the bottom of the form.
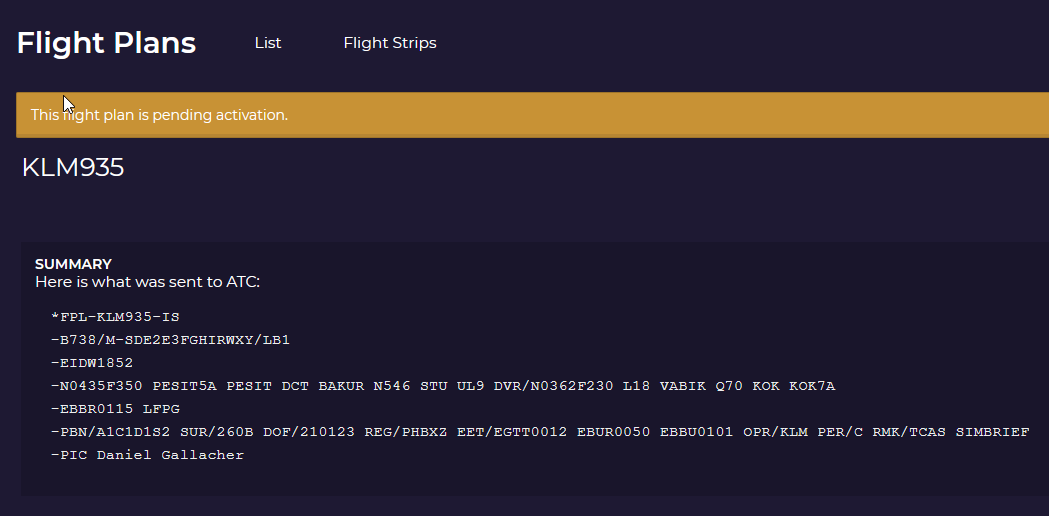
Referring back to the importance of the registration being provided correctly, if you receive the popup on submit that the registration is invalid, you can find the registration in the "Other Information" box as REG/ followed by the invalid value as highlighted below. Correct this as required.

We now have our flight plan submitted and "Pending Activation"
Right, back into SimToolkitPro, export any FMS plans you need from the Blue "Export" menu and head into the simulator when ready!
In The Sim
A little tip here. I prefer to log onto the network immediately upon loading into the simulator. Nothing is more annoying that setting up your aircraft and signing in to find the stand you are at is occupied and you need to move the aircraft and restart your flight!
Ok so lets sign onto the network!
X-Plane 11
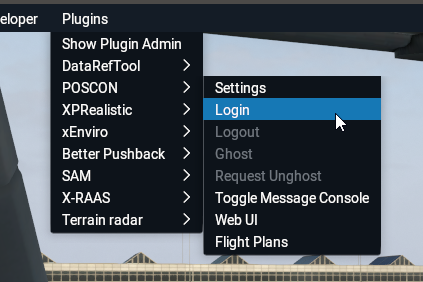
Select Login from the POSCON menu under PLUGINS.
From the login popup fill out your flight and aircraft details. The airframe will detected automatically where possible but you will need to fill in the ICAO code for the Airline. The ADS-B Callsign, where possible, should match the flight plan aircraft identification from the prefile form.

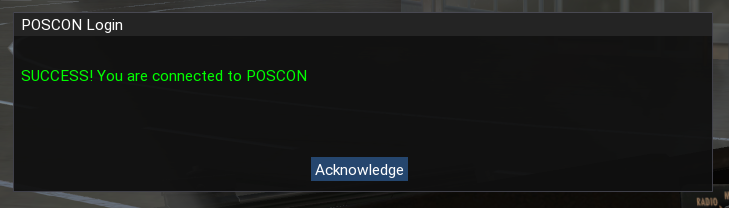
After a few seconds of hitting connect we should be online!
FSX/P3D/MSFS
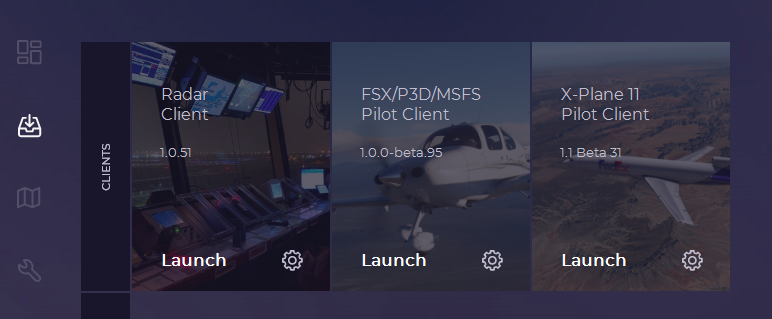
From the POSCON Launcher launch the pilot client.
Once opened hit the connect button then fill out the flight/aircraft details. As for X-Plane 11 the airframe will detected automatically where possible but you will need to fill in the ICAO code for the Airline.
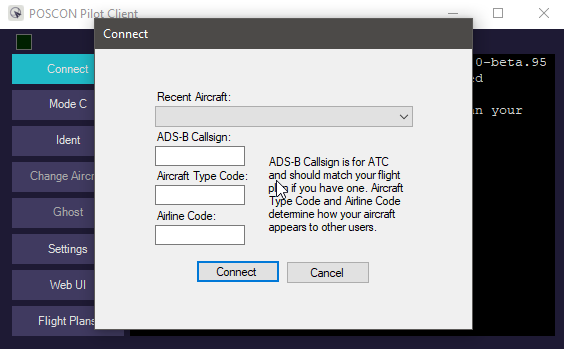
The ADS-B Callsign, where possible, should match the flight plan aircraft identification from the prefile form.
Hit connect and get yourself online!
Getting our SQUAWK
Now we need to get our squawk code. If there is a controller online in your area you can do this by contacting them using the radio on the frequency displayed on the map. Alternatively we can use the POSCON Pilot Client to do this. Open the Pilot Client in your browser - .
If all the buttons are blacked out and you are unable to interact with them, make sure your simulator's plugin or the pilot client is running and connected correctly.
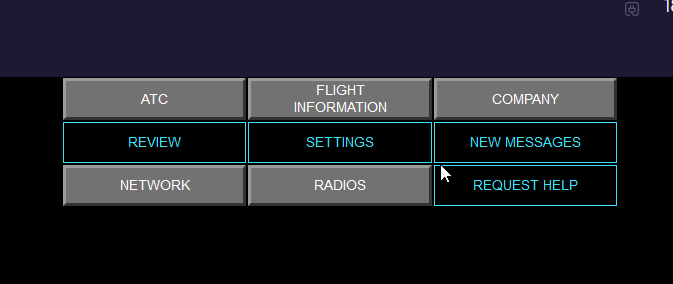
From here select ATC, then LOGON/STATUS.

Fill out the form with our Departure details. We want to logon to EIDW with flight number KLM935.

Now at the bottom (You may have to scroll) hit "SEND", you will hear a radio noise. After a few seconds you will hear the "bong" of an incoming message. Hit the NEW MESSAGES button that is now available.

Fantastic, we have our SQUAWK code of 7641. Now we can carefully enter this into the transponder on the aircraft as normal. For exact instructions on entering transponder codes you will need to refer to the appropriate manual or documentation for the aircraft you are flying.

Remember to set your transponder to TA/RA on take off, or use the "Mode C" button on the Pilot Client for FSX/P3D/MSFS.